Installation Instructions for the Vertical Negative Draft
Step 1: Unplug electric Cord. Remove unit from fireplace, carefully removing exhaust pipe from chimney. Take off the 3” exhaust pipe from stove (the 3” flex pipe) by twisting back & forth & pulling off of stove. Check 3” pipe for leaks, (take outside & run a hose of water through, it should not leak – make sure it is dry before putting the pipe back on). If it has holes it is not good to use.
Step 2 (optional): Remove front door of stove by taking out the 3 screws on hinge (also make sure the fire-pot and air wash pan are removed). Set stove on face (front).
-
- Remove back panel & cut approx. 12” off RH end of panel.
- Cut an 1 ½“ notch out of the top of the 5” intake air pipe to allow self-tapper screw to attach new blower.
Step 2
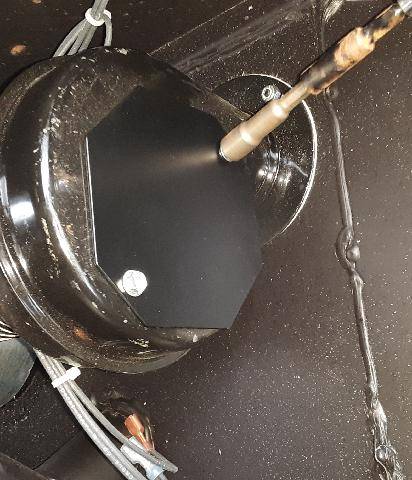
Step 3: Look into 3” exhaust pipe to see a smaller (1”) pipe y-ing into the 3” exhaust. By using a magnetic stick, use the 1” plug (provided) w/ high temp silicone (also provided) & push the 1” plug into end of small pipe inside. Make sure the plug is secure. (Hint: we use a wood dowel or 1×1 stake about 16” long & tap the plug into place w/a small hammer).
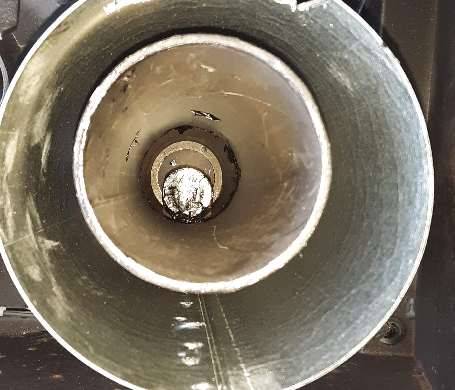
Securely Install Plug
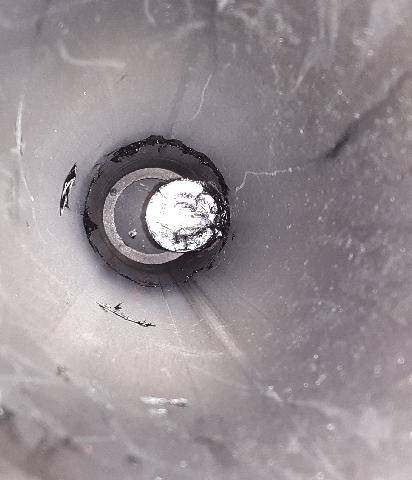
Securely Install Plug
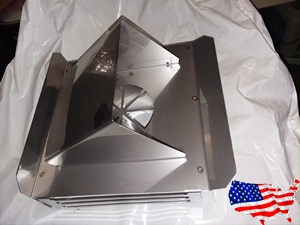
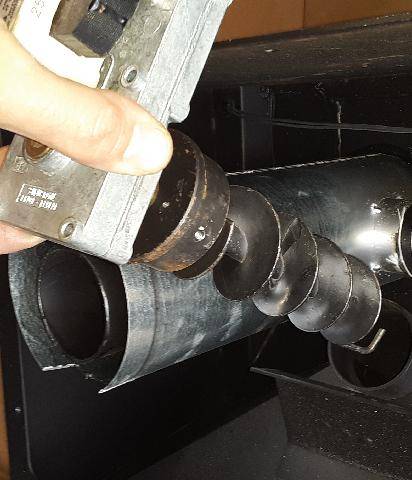
Step 4: Remove RH back panel and remove old positive combustion blower motor & squirrel cage fan (2 – 5/16” head screws). Replace opening with housing opening cover (provided).
Step 4: Replace old combustion motor with opening cover provided.
Step 5: Remove auger motor, bushing, and old auger assembly. Then replace it with multi-fuel auger (auger detaches from motor by turning clockwise – left-handed threads). The auger assembly is removed by a set screw on the left side of the auger tube nearest to the auger motor. While re-assembling, use ‘never-seize’ on new auger shaft and bushing to allow for easy access in the future.
Remove and Replace Auger
Step 6: Locate the air deflector screw ( ¼” allen screw). This screw is located in the back of the stove below the auger assembly. (The screw does not come out.) You may need to adjust this screw later depending on your air flow.
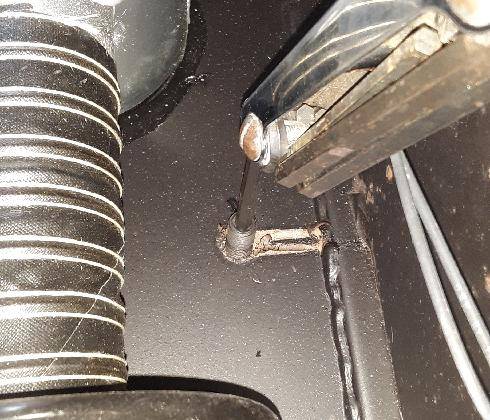
Locate and Lube the air deflector 1/4 inch allen screw.
Step 7:
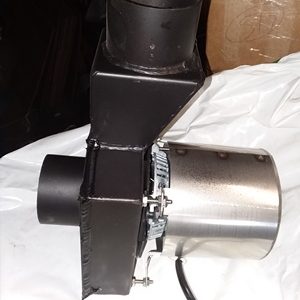
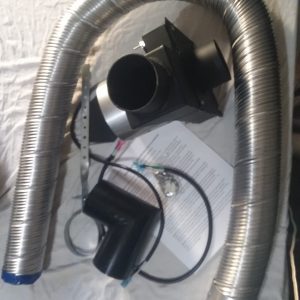
Step 8: You may leave back panel off to draw more air and free up workspace for later convenience or fasten back panel of stove back on (It fills in around 5” pipe). Slide on 3” connector, 90* elbow & Negative draft blower with exhaust upward and level, and mark (it does not matter if the 3” connector is attached to the stove or to the blower). Remove, and install ‘never-seize’ around pipe & slide blower assembly on. Then install with self-tapping screws to all joints.
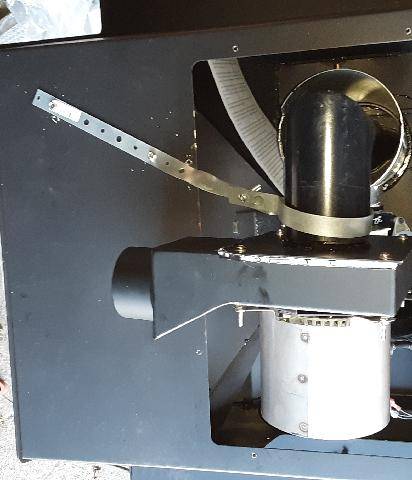
The hangar/strap provides more stability.
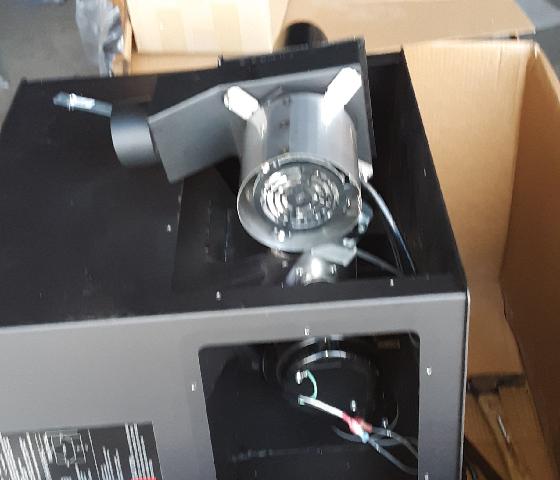
Your finished install should look like this
Step 9: Set stove upright & slide LH side of stove into FP cavity. Place 3” pipe on fan & feed into chimney, being sure it is free. (apply high-temp silicone between flex pipe & stove adapter – apply ‘never-seize’ between stove adapter & new blower). Also feed new motor wire into back cover opening (if reattached) and plug the new blower into the same wires that were used for the old Combustion blower. It does not matter which wire is plugged in to either wire of the new blower. Attach ground wire of wire harness to one of screws which hold new cover plate on. Attach RH panel.
Step 10: Fill bin ¼ full of fuel. By use of an anemometer or another device that checks cubic feet per minute (CFM) air speed, check air flow at combustion air intake (hole behind firepot). You will need to remove the firepot and air wash pan and the door needs to be closed to use device properly. Running the stove but not fired up – correct setting to 59-61 ft/min by adjusting the allen screw located in the back of the stove (see step #6). If you don’t have access to an anemometer you can adjust air speed by firing up the stove and adjusting the allen screw in the back to the appropriate flame activity. Flame needs to be active like a camp fire not lazy like lighter flame. If flame is “dancing” off the fuel it is too high. Once air is set to your liking you may now slide stove further into the firebox, ready to use.